Table of Contents


Ready to create more pipeline?
Get a demo and discover why thousands of SDR and Sales teams trust LeadIQ to help them build pipeline confidently.


.png)

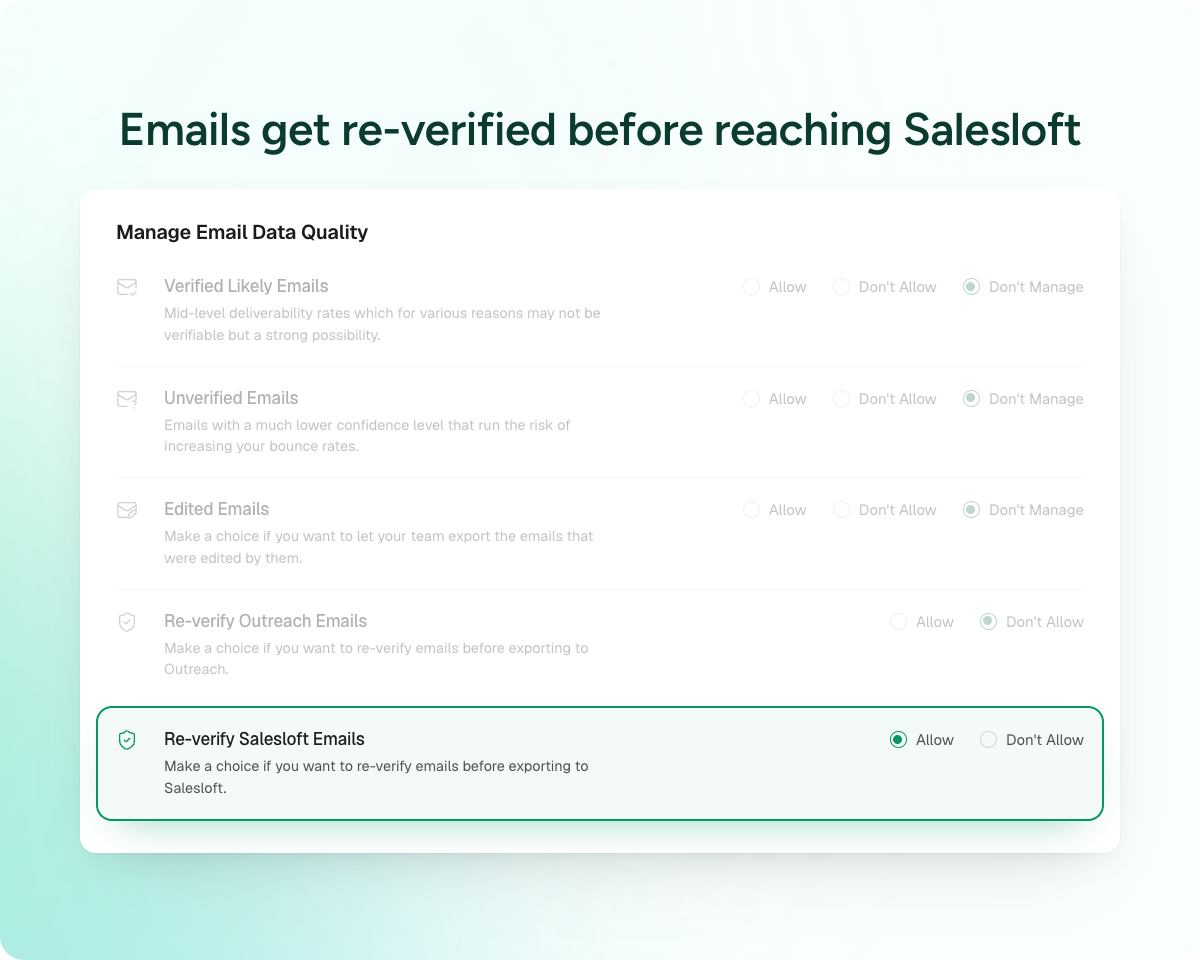
Non-admin users can trigger email re-verification directly from the Lists view, instead of routing the request through an admin.
You can select emails updated within a specific time window, across every list you own, rather than opening one list at a time.
Live today for all UC customers.
Get a demo and discover why thousands of SDR and Sales teams trust LeadIQ to help them build pipeline confidently.
A rep pulls up a list they built two months ago, ready to load it into a new sequence. Half the names look fine. The other half, she has no way of knowing, until whoever holds admin access has time to run a re-verification pass and it works its way through the queue.
That wait used to be the only option. Email re-verification lived behind admin permissions, and it only ran one list at a time, one hand-picked batch of prospects at a time. Managing a dozen lists across a handful of accounts meant either asking an admin to run it over and over, or letting most of them go stale.
That wait is gone now. Any user, admin or not, can open the Lists view and re-verify emails across every list they own in a single pass, filtered by how recently each one was last updated.
You don't need admin access to clean your own lists. Open the Lists view, pick a time window, and re-verify. It's the same re-verification engine LeadIQ has always used, handed to the people actually working the lists day to day.
One pass covers everything, not one list at a time. Instead of opening each list and selecting prospects individually, you can catch stale emails across your whole book of business in a single action.
It's part of keeping your data usable at the moment you need it, not just the day you first captured it, the same problem behind why email list hygiene quietly breaks down on most sales teams.
Open the Lists view next time you're prepping a sequence. The re-verify option is right there.
.png)
Ready to try it? In the web app, go to Lists, select the emails you want to re-verify, then select Actions > Re-verify emails.
Questions? Reach out to your AM or our help center.
.png)